Two clothing orders arrive in the same week. One contains a dress to send back; the other contains two shirts, only one of which is being returned. Before putting everything into the nearest delivery bag, match each item to its order and authorized return route. The aim is a clear parcel record that remains useful after the packages leave your hands.
Make the item and order match visible
Open the order records and identify the exact item, size, color and quantity being returned. Keep each order group separate while you work. Similar shirts can have different product codes, so use the item information rather than deciding from color alone. Keep anything you are retaining away from the return group before preparing a parcel.
Create one row for each return: retailer or selling partner, order reference, item identity and the return request reference. Add the package or label identifier once it exists. This is a temporary working record, not a reason to publish order details or account information in a photograph. A short private note is enough if it makes the matches unambiguous.
Follow the route for the actual seller
Read the return instructions for the items in that order, including any current deadline, required condition and seller-specific route. ASOS, for example, distinguishes items shipped by ASOS from items shipped directly by its Brand Partners; the latter may need to go back to the brand. A familiar shop name at checkout does not settle the destination by itself.
Ask whether orders may be combined and which authorization or document belongs inside each parcel. Do not assume that two items sharing a destination can share a return label, or that every item from one checkout must travel together. If the instructions and the return portal appear to conflict, obtain clarification before sealing the parcel. Keep the answer with the relevant order rather than applying it to every future purchase.
Match the label or code before closing the parcel
Check the return reference against the item group immediately before using a printed label or digital code. UPS explains that some eligible returns can be taken to a participating location without a box or printed label, while others must already be packaged and labeled. Follow the instructions for the particular service; a saved QR code is not evidence that every nearby counter can accept it.
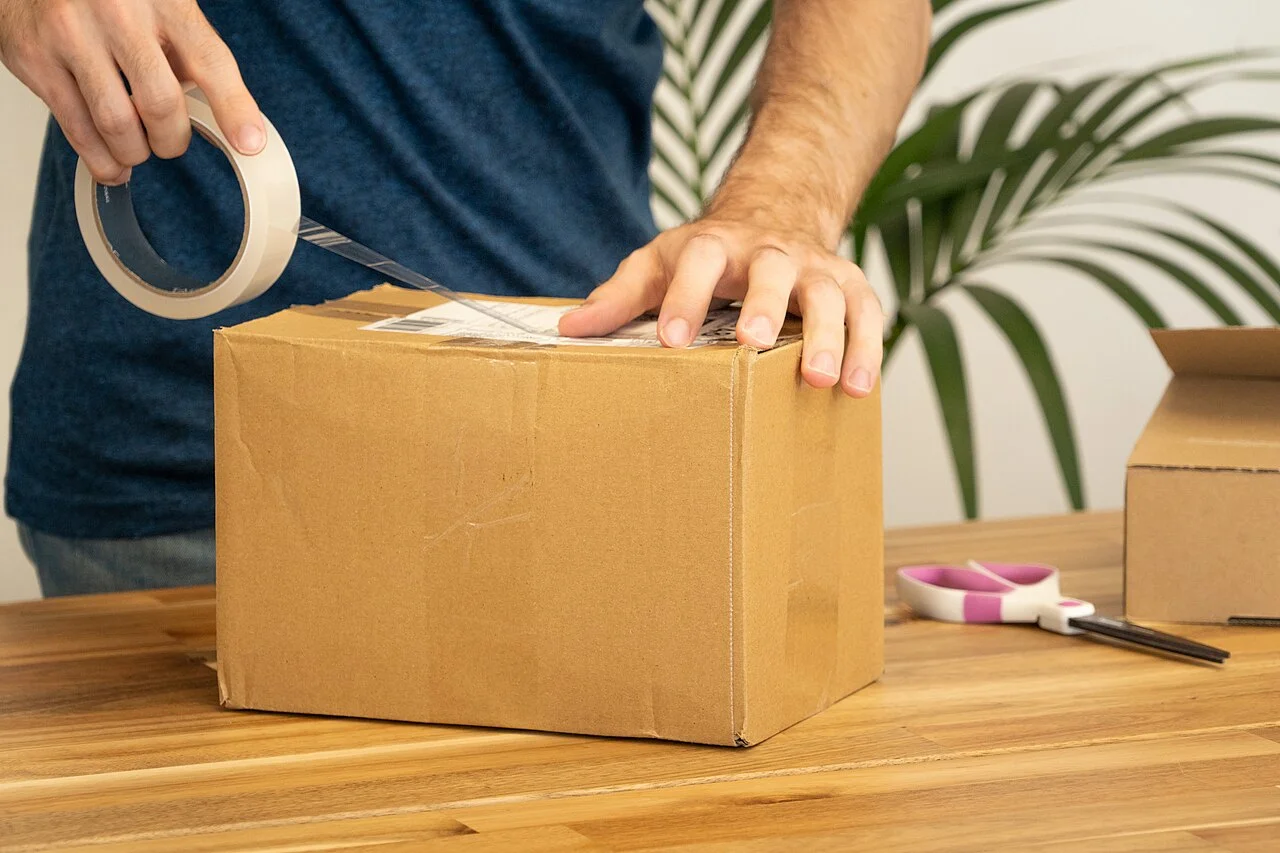
If you are reusing a box, UPS advises removing old shipping labels. Keep the current identifier readable and follow the supplied packaging directions. Work through one return group at a time so that an unused label from the other order does not migrate onto the wrong parcel. If there are several parcels, label your own working record clearly enough to distinguish them without obscuring carrier information.
Keep proof with the correct return
At handover, ask for and retain the proof supplied for the chosen return method. ASOS asks customers to keep proof of postage in case they need to contact it about a return. Match that proof to the order and return reference in your record. A parcel photograph may help explain what you prepared, but it does not replace the carrier's or retailer's required evidence.
Monitor each return separately through the process described by the seller. Do not treat a hand-in receipt as confirmation of a refund, or the delivery of one parcel as confirmation that both orders have been processed. If a query is needed, use the relevant item, order and parcel references together. The useful result is a traceable return, without buying extra storage or turning a simple task into another wardrobe project.
Sources & further reading
Published sources for the details and examples discussed in this story.